

When there’s no time to visit a photo booth or hire a professional photographer to take an ID photo, it's time to get creative and take matters into your own hands. One way to do this is by taking advantage of what we already have.
Do you have an iPhone with a perfectly functional camera? Put that thing to work! Here, we will show you how to take an ID photo by yourself and then easily make an ID photo online with FaceHub.
In this article
Part 1. Choosing the Right ID Photo: Understand the Requirement
When taking an ID photo, there are requirements we need to follow. First, we need to ensure the photo meets the specific dimensions specified by the issuing authority. You need to adhere to guidelines regarding the size of the image, such as dimensions in pixels or inches.
Top 6 Requirements for ID Photos
Generally, ID photo rules must contain a full-face portrait of the passport holder and without any other objects. The photo must be taken no earlier than 6 months before the application. Here are the essential requirements you need to know to get a decent-looking ID photo:
1. Passport photo background and photo size
Photo requirements for passports or ID cards may vary by country, but no matter what type of ID you submit, the photo should be taken with a plain neutral background, without added objects, or other sundries. Most passport photo guidelines require a white or off-white background. This is the most accepted color for passport photos.
Passport photo size requirements vary from country to country. The most used passport photo formats are 2 x 2 inches and 35mm x 45mm. Make sure you match the photo size with the regulations.

2. Ensuring perfect lighting
You must make sure your photo has proper lighting, besides making the results clear, lighting is also necessary for your face to be well recognized.
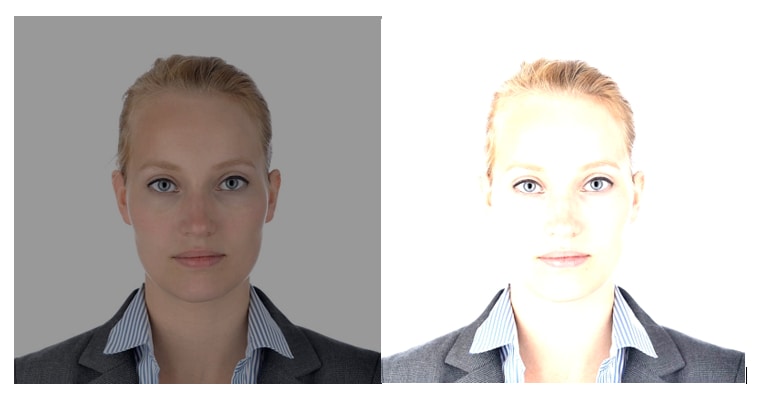
It is also essential that your photo is not underexposed or overexposed so that the result does not blur your face.
Sample photos that are underexposed and overexposed.
3. Your entire face should be visible.
You must ensure your face is not covered by anything such as hair and your eyes are not covered by glasses. Also, make sure your head and shoulders are straight to the camera.

4. Take a photo with a neutral facial expression
A perfect ID photo can be taken as long as you have a neutral facial expression with both eyes open. You may smile slightly, as smiling may not be allowed in some cases. Note, to look straight at the camera.
5. How you dress for your passport photo
Generally, dark-colored clothing is recommended to contrast with the light background. You can also wear the clothes you normally wear. However, clothing should not be distracting or cover too much of the neck or shoulders.
Headwear is only acceptable for the head coverings worn daily for religious purposes (turban, hijab, etc.)

For example, you can wear your striped shirt that looks contrasting but not excessive for your passport photo.
After knowing the requirements, it’s time to take your ID picture and edit it using the ID photo online maker that we will address in the following sections.
Part 2. How to Take an ID Photo with Your iPhone
Many ID photo makers online allow users to use a webcam and take their ID photos directly. But a webcam usually has lower quality than taking it using your phone camera, so it’s advisable to take a picture with an iPhone or your mobile camera first.
Taking an ID photo with an iPhone can be convenient, but it's essential to ensure that the resulting photo meets the specific requirements. Here's a step-by-step guide to help you take a proper ID photo with your iPhone:
Step 1. Prepare the Background
- Find a plain background, with good lighting. White or off-white walls are perfect, or you can hang a plain bed sheet as a backdrop.
- Make sure no objects, patterns, or distractions in the background.
Step 2. Position the Camera
- Set up your iPhone on a stable surface or tripod to avoid camera shaking.
- Position the camera at eye level and ensure that it is parallel to the ground.
- Set the timer (optional), this step you use if you're self-photo and can help avoid camera shake.
Step 3. Adjust Camera Settings
- Ensure that the camera is set to the rear-facing (main) camera for the best quality.
- Disable any portrait mode or filters to keep the photo natural and unaltered.
Step 4. Framing your position in the shot
- Stand or sit in front of the camera with your shoulders squared and facing directly towards it.
- Ensure that your face is exposed evenly and clearly. Avoid casting shadows on your face.
- Position yourself that your head and shoulders are perfectly framed.
Step 5. You can take the picture!
Note: Keep a neutral facial expression or make any exaggerated facial expressions. Lastly, ensure that your eyes are open and looking directly at the camera lens.
After taking a good photo, there’s an option to create your ID picture by using an ID photo online generator. We'll tell you how to create it.
Part 3. Create Your ID Photo Online with FaceHub
After having your picture taken, it’s time to perfect it using an ID photo online maker such as FaceHub AI Portrait. You can effortlessly make an ID photo online for free and with no skills needed.
If you have limited time to take your ID photo, online tools like FaceHub AI Portrait may be the way to go. These are the reasons why you need to use FaceHub AI Portrait to take your ID photo:
- Quick and easy way to create an ID picture: FaceHub offers an easy solution to create a photo ID online without having to go to a photo studio.
- More convenient and flexible: If you're short on time, you can create your ID picture anywhere and anytime; you just need a device and your recent photo to get your ID picture.
- Offers many templates you can choose from: FaceHub AI Portrait tool gives you several ID photo options to choose from. You can generate a picture that suits your preferences.
Guide to Using FaceHub's AI Portrait:
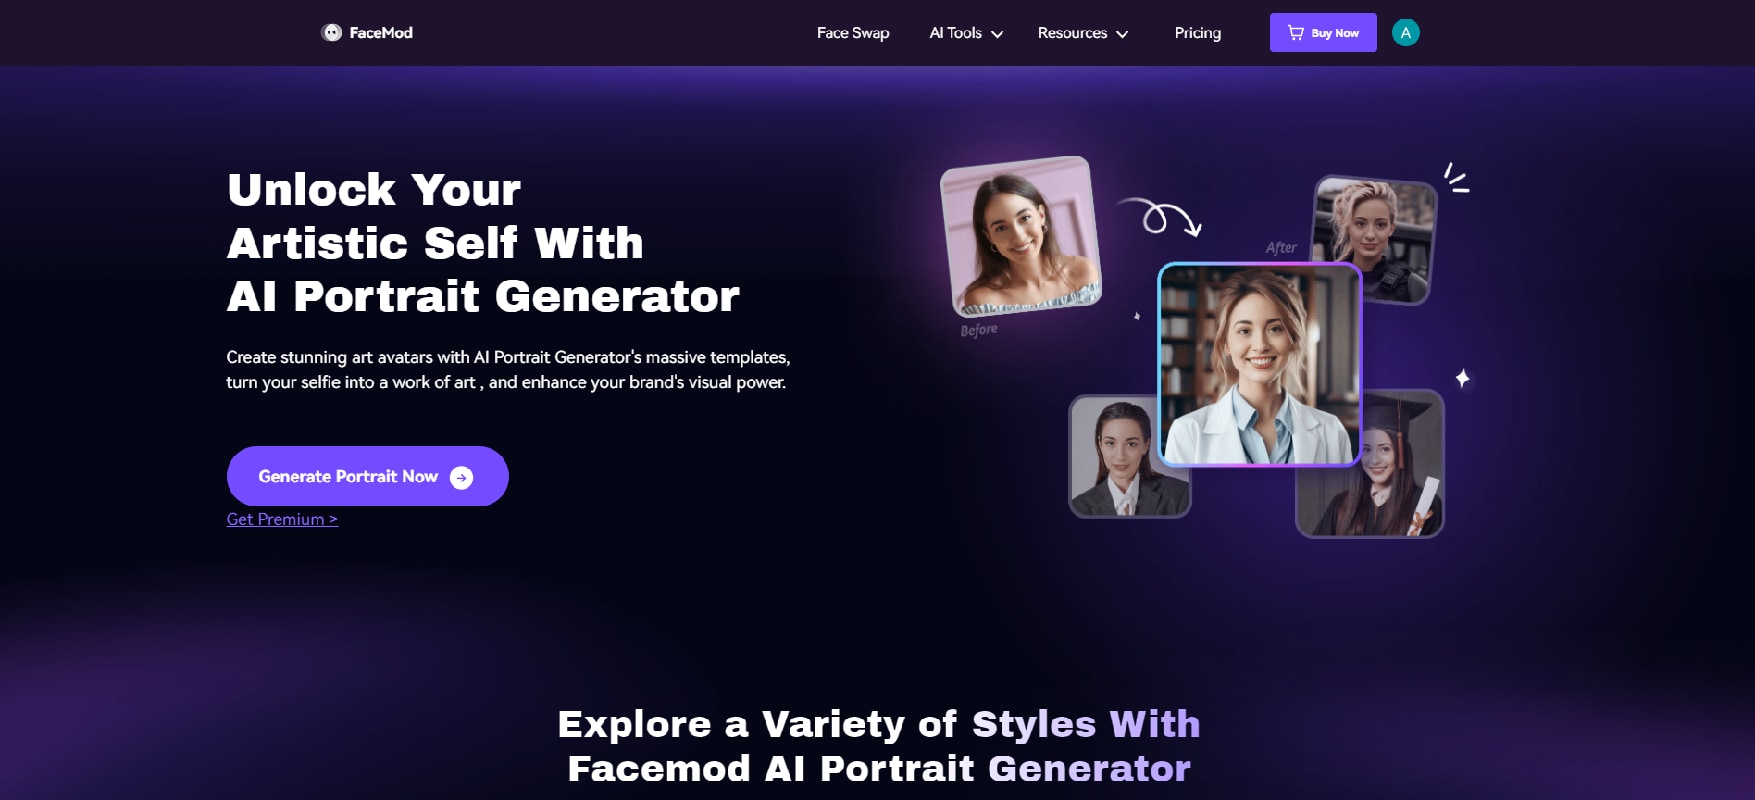
Step 1: Visit the FaceHub AI Portrait website and click "Generate Portrait Now"
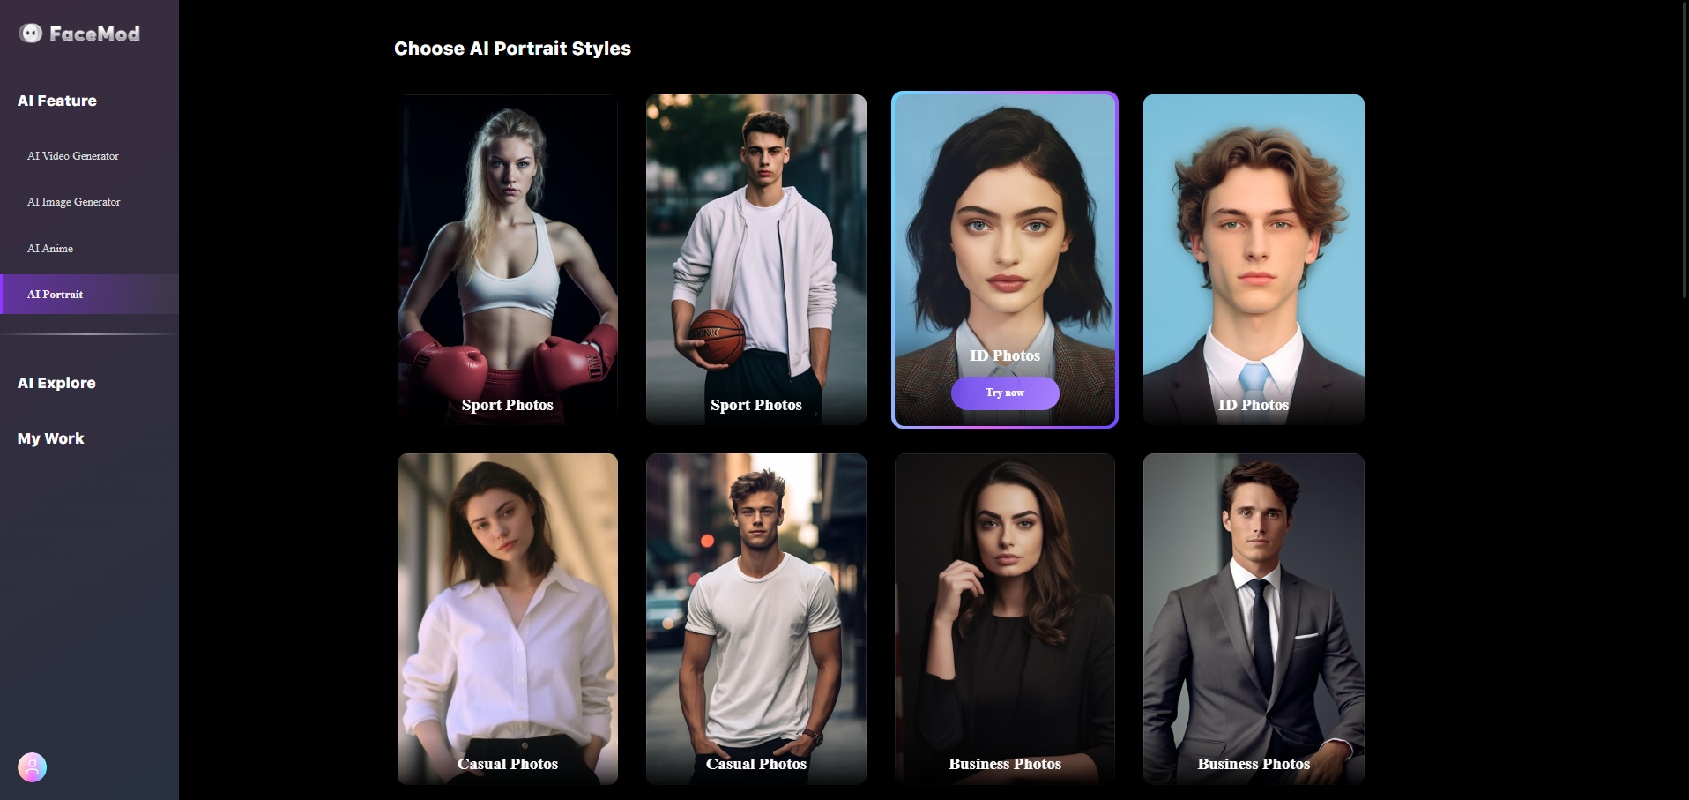
Step 2: Once you are on the FaceHub AI Portrait interface, you can log in to your account or create a new one. Then, select "Try Now" for the ID photos template.
Step 3: Upload your photo by clicking "Add face". Make sure to use a clear, front-facing photo of yourself for the ID photo.
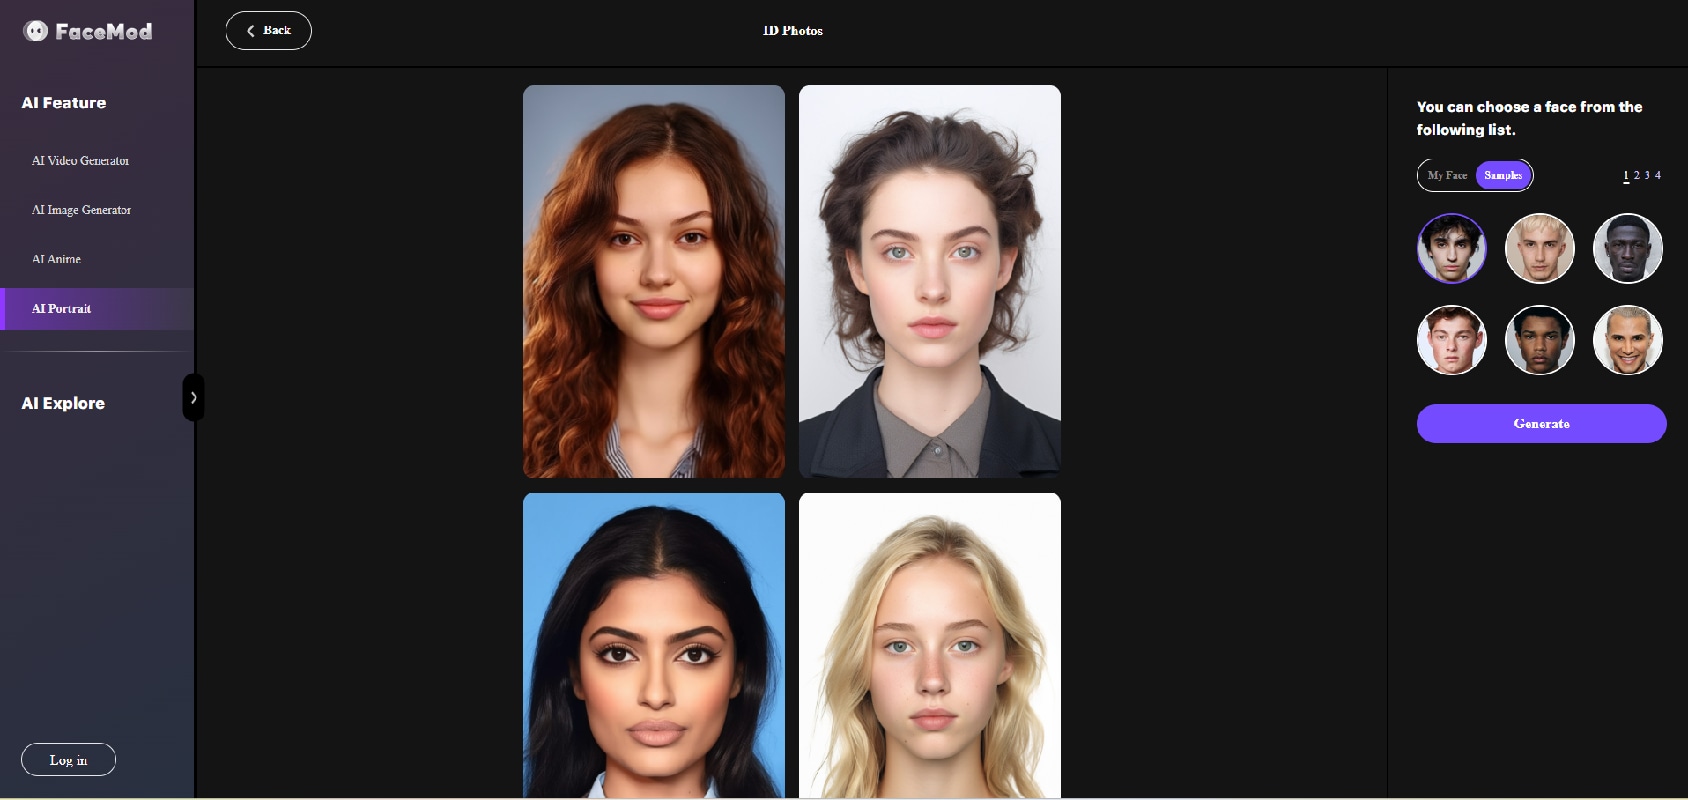
Step 4: You can start generating your ID photo after uploading your picture
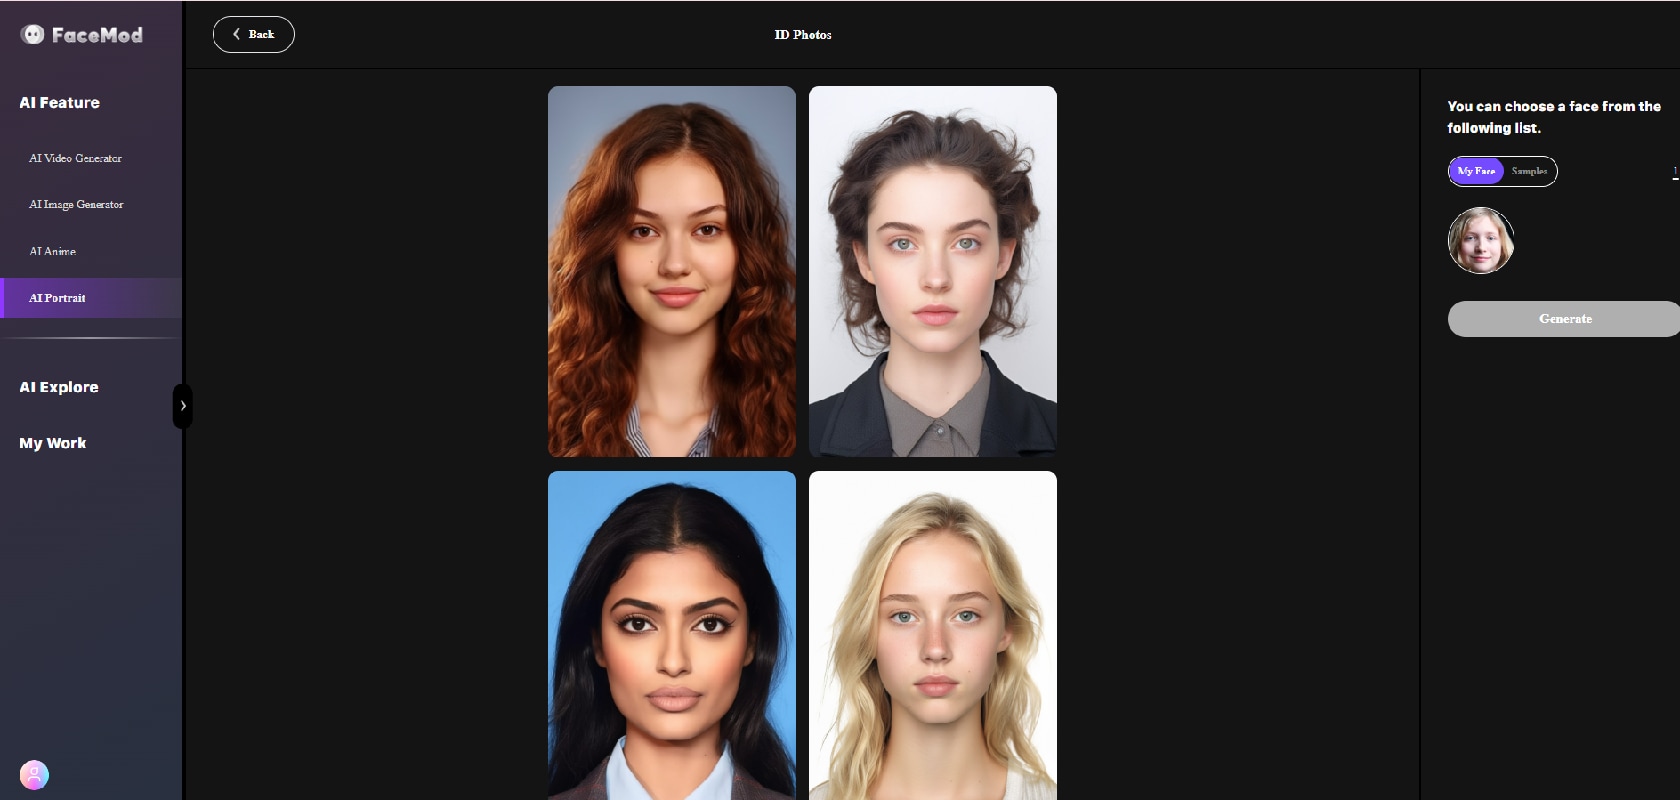
Step 5: After a few seconds, you will see the resulting ID photo and you can download it right away.
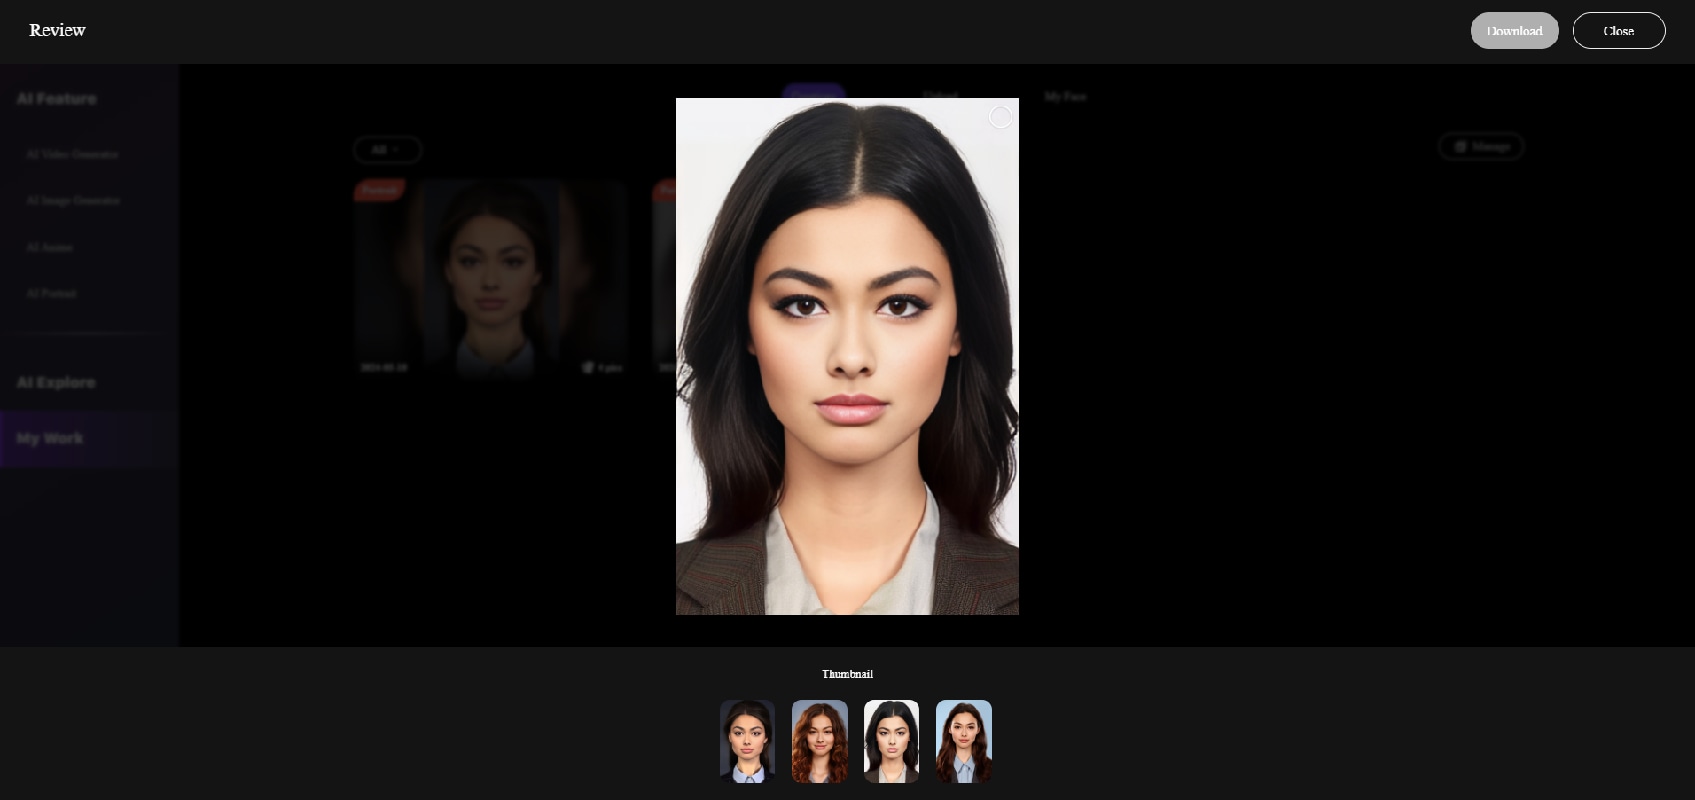
If you want to explore, the FaceHub AI Portrait also provides you with more choices, you can click "More Portraits" or you can regenerate another photo by clicking the "Generate" button.
Conclusion
Making ID photos such as for passports and visas have requirements, maybe it will be quite an effort and take time if you must go to a photo studio or take photos by yourself. With ID Photo Maker online, you can whip it all out and make it easier. You can take your high-quality ID photos anytime and anywhere.
Thanks to FaceHub AI Portrait Generator which helps to simplify the process with just a few clicks, you can access it for free! So, if you need to take a Picture ID, you can use FaceHub easily.