
Photoshop is an advanced tool for editing photos on your computer. It comes with many cool features for making your pictures look better and more fun. One of these features is it can do face swap. By using Photoshop, you change the faces of one person in your photos and switch it onto another person.
Before we get into how to do face swap in Photoshop, let's talk about why people face swap their photos.
In this article
Part 1. Why Do People Face Swap Their Photos?
A face swap is a digital process in which you replace one person's face in a photo with someone else's or even something else entirely. It's a popular trend on the internet, often seen in memes and shared on social media. As one of the best photo editors, you can use Adobe Photoshop to face-swap your photos.
There are several reasons why you might want to replace face in Photoshop, such as:
- Entertainment and Humor
Adding humor to images is a major motive for face replacement. Swapping faces can transform an ordinary scene into something unexpectedly funny. It can spark laughter and interaction among viewers.
- Enhancing Portraits
Face-swapping in Photoshop goes beyond fun; it's a tool for refining portraits. You can fix issues like closed eyes or distracting backgrounds, resulting in polished portraits that captivate viewers. This technique lets photographers achieve their desired look and deliver top-quality images.
There are two ways to swap faces in Photoshop. The first one is by using Mask Layers, and the second one is by using the Object Selection tool. Let's discuss how to do a face swap in Photoshop using these two methods.
Part 2. Use Mask Layers to Face Swapping in Photoshop
You can use Mask Layer in Photoshop to perform a basic face swap if you have photos with similar dimensions and arrangement. Follow these simple steps below to face-swapping in Photoshop:
Step 1. Place the photo with the face you want to swap as the bottom layer. Then put the photo containing the face to be replaced on the top layer.
Step 2. Align the faces in both pictures using the Auto-Align feature. Make sure the two subjects you want to merge are roughly aligned.
Step 3. Add a white mask layer to the top image, and set its opacity to 100%.
Step 4. Select the Brush tool and adjust the opacity to 100%. A softer brush style typically works best for this task.
Step 5. With the black brush selected, paint over the face you wish to replace the mask layer. As you paint, the face on the layer below will begin to show through.
This Mask Layer method is suitable for images with similar sizes and compositions. However, if you're looking to achieve more complex swaps, you'll need to use other Photoshop techniques.
Part 3. Use Object Selection to Face Swapping in Photoshop
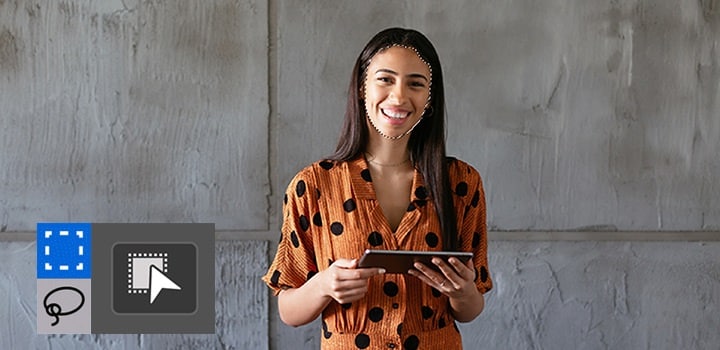
The Object Selection tool allows you to change faces in Photoshop. It lets you extract specific elements from a photo, whether it's an eye, a nose, or even an entire face or head. Using this tool, you can precisely cut out the face you want to swap and save it as its a separate layer.
When using this method, it's advisable to work with a face that's larger than the one you're replacing. It is easier to fit a larger face into a smaller one because you do not have to deal with distortions from pixelation caused by resizing the layer.
Here’s how to do a face swap in Photoshop using the Object Selection tool:
Step 1. Select the Object Selection tool from the toolbar. Then choose the selection Mode to Lasso tool.
Step 2. Make a selection by clicking and holding your mouse outside the face. Then drag the cursor to draw a rough outline shape of the face. When you reach the point where you began, take your hand off the mouse to complete the outline.
Step 3. After cutting out the face you want to swap, drag it onto the target head in your image.
Step 4. Gradually resize and align the features. Adjusting the opacity of the face layer to see the original features beneath it. Focus on aligning the eyes, nose, and mouth, ensuring a natural fit over the original face.
Step 5. Once you are satisfied with the placement, restore the opacity to 100%. The new face should seamlessly blend with the old one, creating a realistic final result.
Tips: correcting color
Face-swapping in Photoshop might be too advanced for those of you who are novices. But, fret not! We have a solution for you. You can check out the easier ways to swap faces in the following sections.
Part 4. How to Swap Faces in an Easier Way?
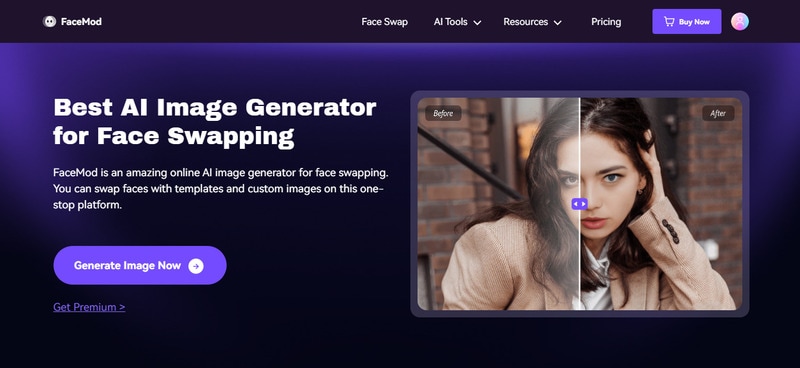
You can try out Photoshop's alternative for face-swapping, which is FaceHub. It is one of the best face swap tools that is available online. With FaceHub, you can create face swap photos or videos with ease. Using FaceHub to face swap is easier than using Photoshop. Because FaceHub is an AI-based powered tool that specializes in face-swapping.
Key Features
- Easy-to-use interface with no ads or watermarks.
- Swap faces on images/videos, and create emojis with your face.
- 1000+ video templates are available.
- Get high-quality results and be able to generate multiple times.
- Enjoy smooth, high-resolution video playback with a high frame rate.
Learn how to use FaceHub for face swapping with the easy-to-follow guides below:
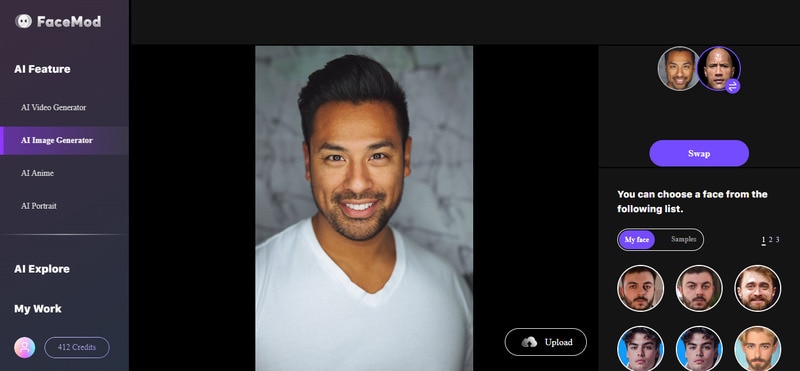
Step 1. Start by going to the FaceHub AI Image Generator and click "Generate Image Now."
Step 2. Then a new tab will open where you can upload a picture. Just remember, the file size shouldn't be more than 20 MB for photos or 500 MB for videos under 5 minutes.
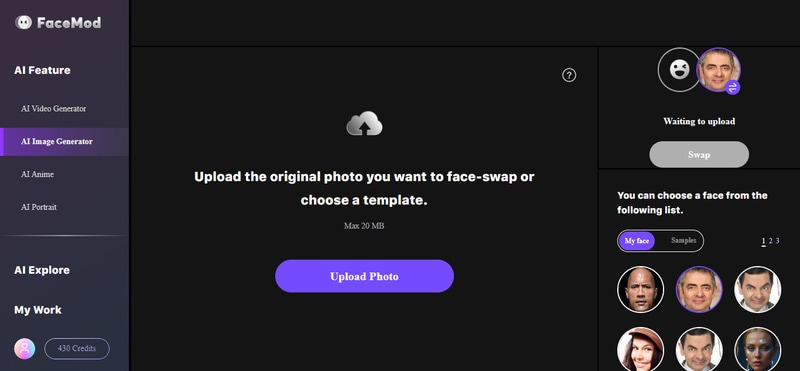
Step 3. Once you've uploaded your photo, FaceHub will analyze the faces. You'll see the uploaded photos displayed, and you can pick a face from the list or use your own. Click "Swap" to begin the face swap process.
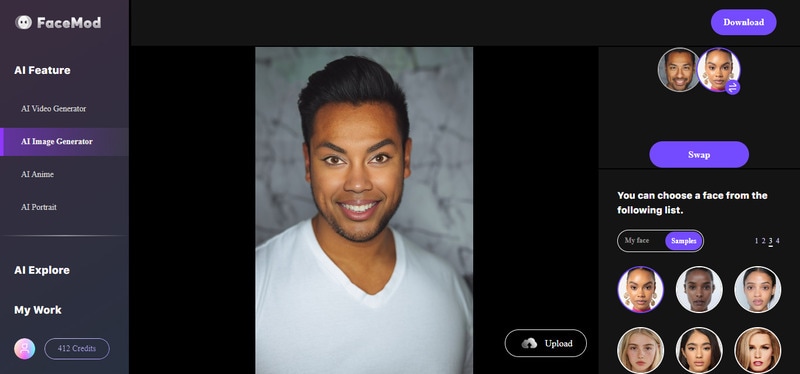
Step 4. After the faces have been swapped successfully, you'll be taken to a preview page. If you like the result, click "Download" in the top-right corner of the screen.
Apart from its capability to swap faces in photos, FaceHub also includes a feature for swapping faces in videos. This function enables users to swap faces in various videos, allowing them to produce amusing content like placing themselves into a movie scene. With its advanced technology, FaceHub ensures that your face swaps look natural and realistic.
Conclusion
In conclusion, learning how to swap faces in Photoshop offers a range of creative possibilities, from adding humor to enhancing portraits. Through its features like Mask Layers and Object Selection, you can customize your swaps to fit your needs.
However, if you prefer an easier method, alternative online tools like FaceHub offer a simple way for face swapping in both photos and videos. Whether you choose Photoshop or FaceHub, the fun and creativity of face swapping are accessible to everyone, providing endless opportunities for imaginative expression and entertainment.