
Ever wanted to see yourself as a movie star or your friend in a hilarious new light? Head swaps let you do just that! With Photoshop's advanced tools, you can now digitally replace someone's head with another in photos seamlessly. Wondering how? Well, this guide will teach you all the essential techniques for flawless head swap results in Photoshop. You'll learn:
- Precise Head Selection: How to carefully isolate the heads for a clean swap.
- Resizing and Positioning: Master resizing, rotating, and aligning for a natural look.
- Blending and Color Matching: Fine-tune skin tones, lighting, and more to create realistic blends.
- Troubleshooting Common Issues: Tackle challenges like mismatched lighting or tricky backgrounds.
Whether you're a seasoned Photoshop pro or a beginner, we'll cover everything you need to create convincing and fun head swaps. Alternatively, you will discover a powerful Photoshop alternative that lets you swap heads seamlessly with speed and precision.
In this article
Part 1: How To Do a Head Swap in Photoshop (Step-by-Step With Images)
A successful head swap in Photoshop starts with carefully isolating the head you want to replace. In this section, you’ll learn the precision techniques for selecting the head, copying, and pasting it seamlessly into your image.
Before You Begin: Choosing the Right Images
To make your head swap in Photoshop look at its best, start with choosing well-matched photos. Opt for images with similar lighting conditions and softness between the head and body. Plain background is another thing to consider if possible. Additionally, choose images where the heads face a similar direction.
Don’t worry if you don’t have perfect photos. Photoshop can still give you a great head swap.
Step 1: Selecting the Heads
- In Photoshop, go to "File" > "Open" and select both images you'll be using for the head swap.
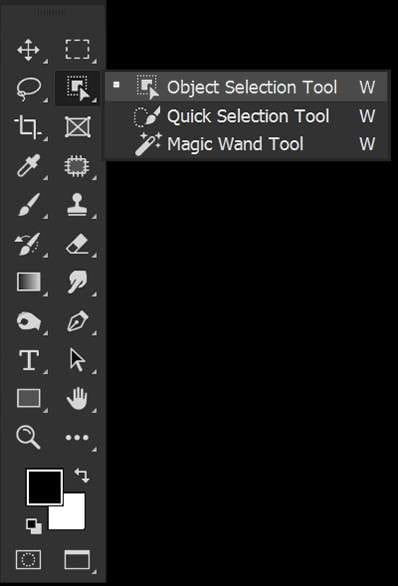
- Select the "Lasso Tool" from the toolbar (— press "L"). Carefully trace around the head you want to transfer. For now, including a bit of the neck and shoulders.
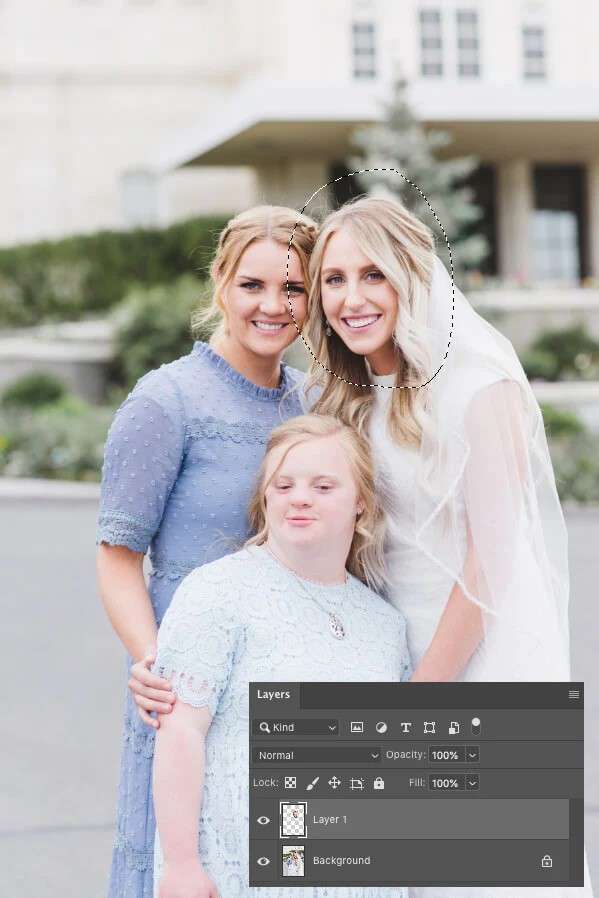
- Press "Ctrl+C" (or "Cmd+C" on Mac) to copy the head that you want to swap.
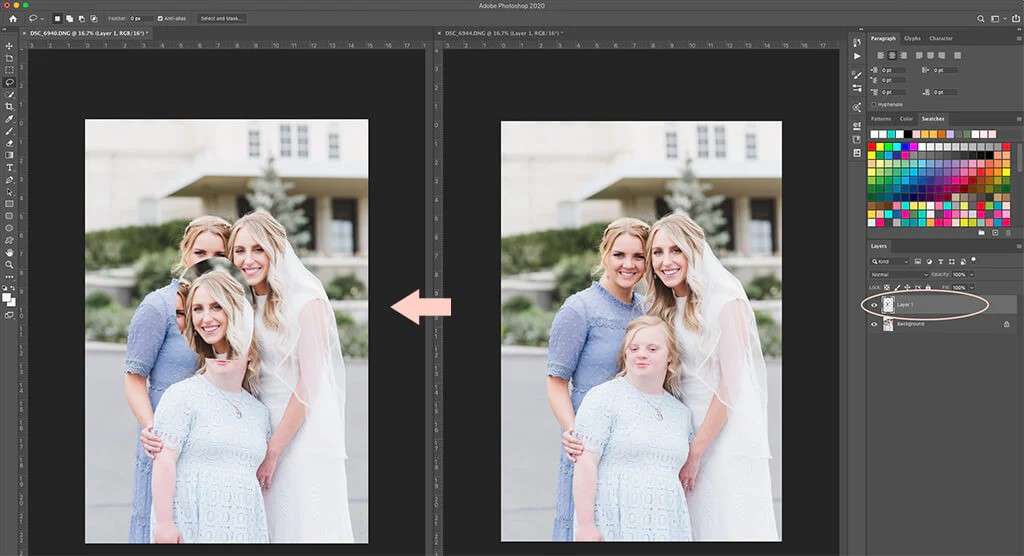
- Now, switch to the image with which you want to swap the head and place the head. For this, press "Ctrl+V" (or "Cmd+V" on Mac) to paste.
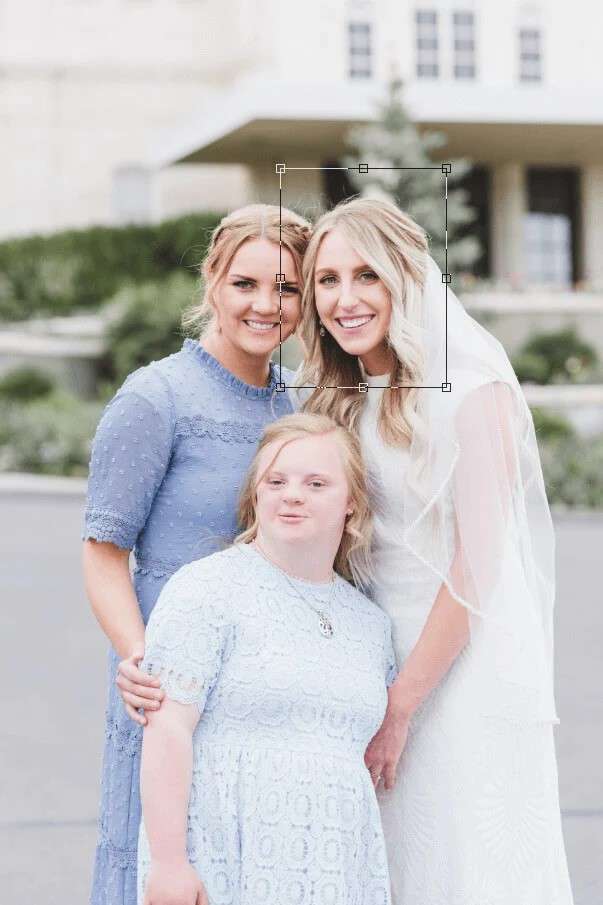
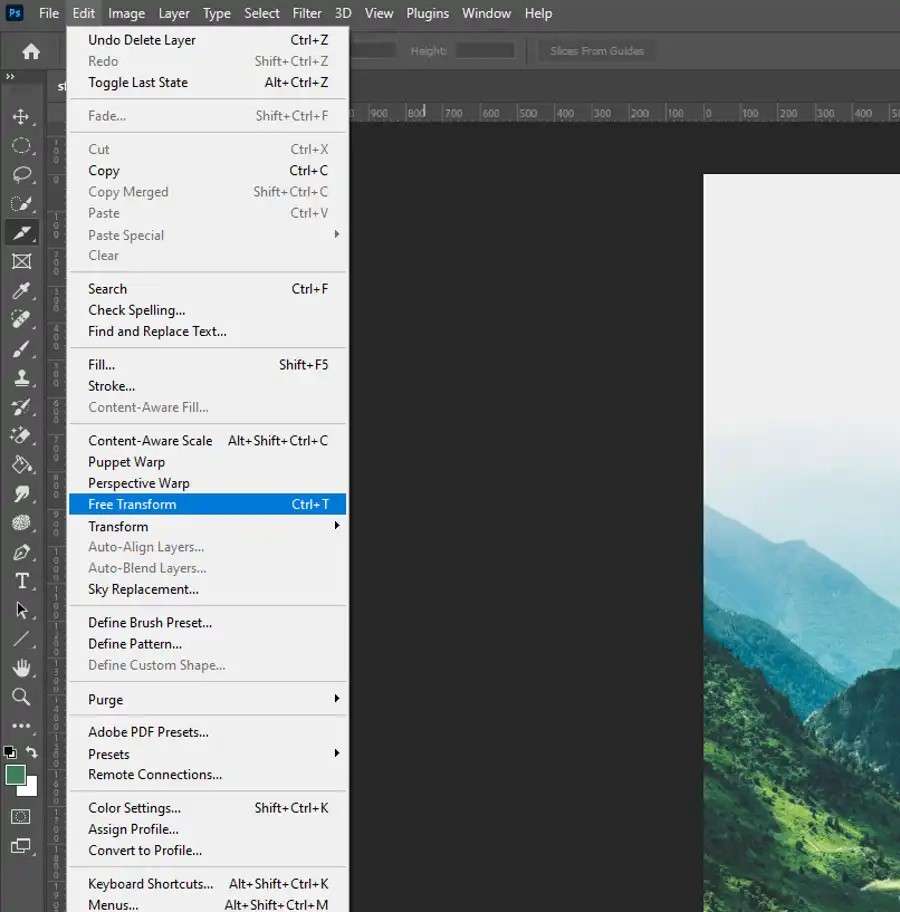
Step 2: Aligning and Resizing
With the newly pasted head layer selected, press "Ctrl+T" (or "Cmd+T" on Mac). This will activate the Free Transform Tool that allows you to precisely resize, rotate, and reposition the pasted head layer to fit perfectly onto the body.
- Resize: Drag the corners of the bounding box to resize the head. Ensure to hold "Shift" while dragging to maintain the original proportions.
- Rotate: Use the cursor outside the bounding box to rotate the head if needed for a natural angle.
- Position: Click and drag within the bounding box to move the head to the desired position.
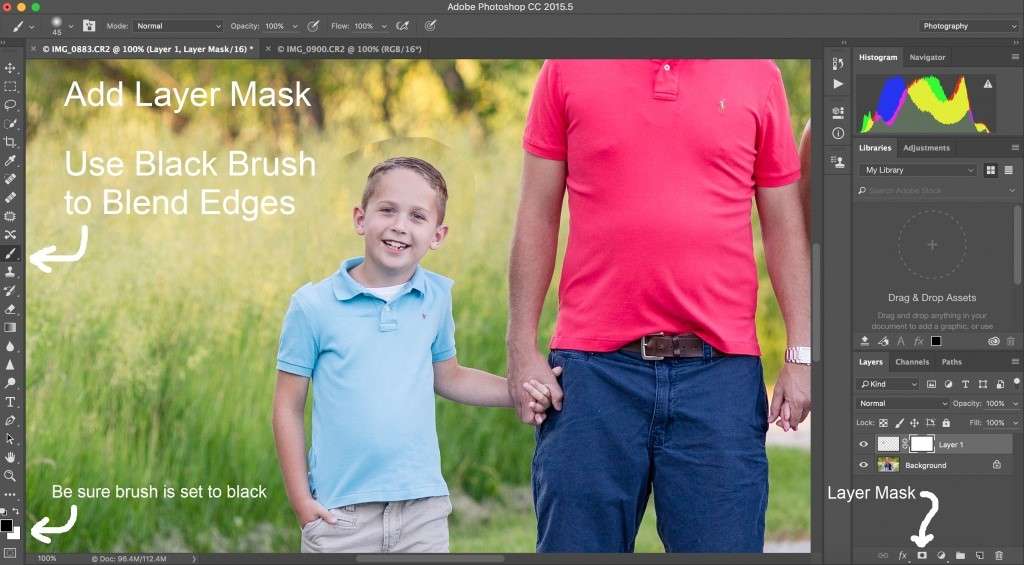
Step 3: Blending and Color Correction
Click the "Add Layer Mask" button at the bottom of the Layers panel (a rectangle with a circle inside). This will add a special mask to your head layer to control its visibility.
- Select the "Brush Tool" (— press "B"). Choose a soft-edged brush and set the color to black.
- Paint with black on the layer mask to hide parts of the head layer. This will blend the image with the background.
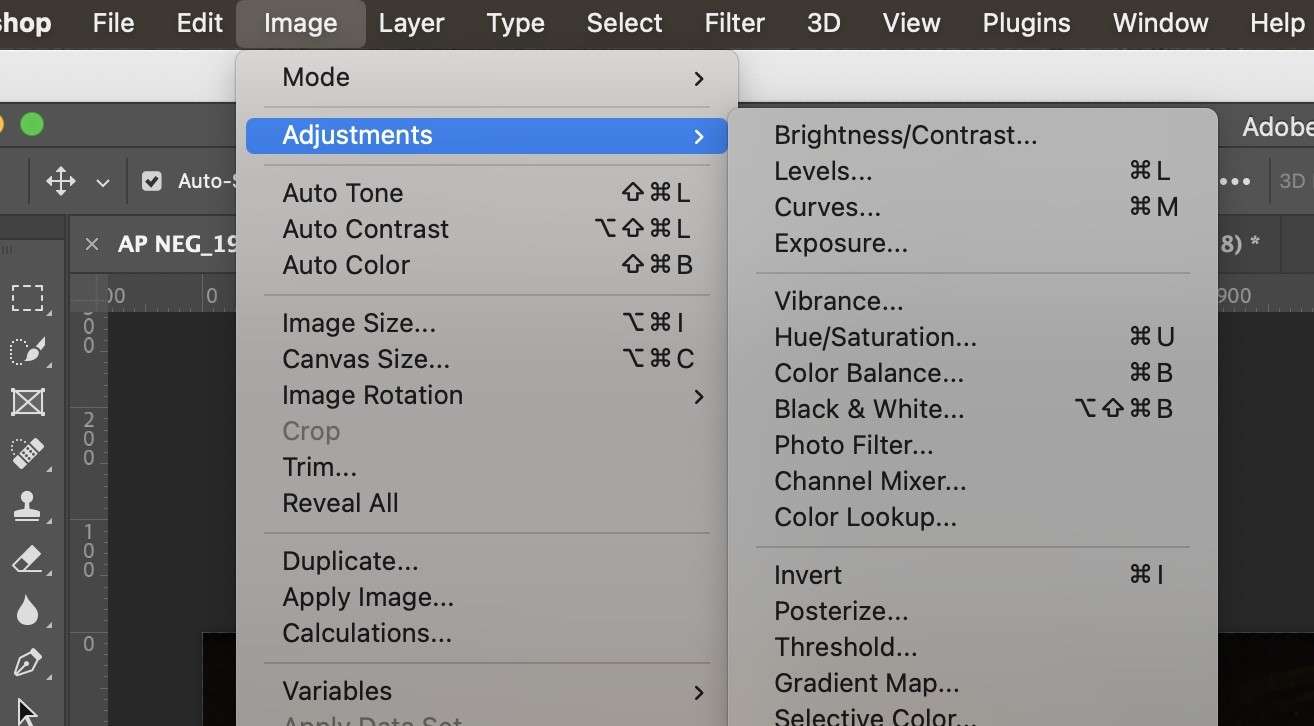
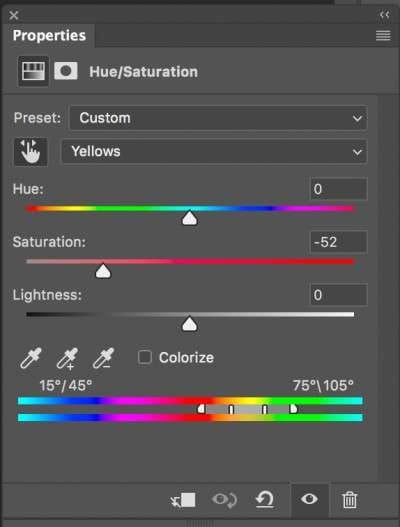
Optional: If the skin tone or lighting don’t quite match, go to "Image" > "Adjustments" and select tools like:
- Brightness/Contrast,
- Hue/Saturation,
- or Curves
These options will allow you to match the skin tones and lighting between the head and body.
Part 2: Troubleshooting "Why Can't I Swap Heads in Photoshop?"
A perfect head swap in Photoshop depends on well-matched images. Even with careful planning, thighs might not always go perfectly, especially if there are lighting differences or tricky backgrounds. But don’t worry! Here are some practical solutions to overcome these challenges and achieve the best head swap results in Photoshop:
1. Problem: Poor Image Resolution
Low-resolution images (especially on the head you’re using) can result in a pixelated and blurry head swap.
Solution:
Ideally, it is best to start with a high-resolution image. If that’s not possible:
- Use the Free Transform Tool (Ctrl+T or Cmd+T). This will allow you to shrink the pasted head slightly.
- Pay extra attention to blending with the Layer Mask. Use a softer brush to hide pixelation.
2. Problem: Mismatched Lighting
Soft lightning on one image and shadows will make the head swap look unrealistic.
Solutions:
Utilize Photoshop's adjustment tools:
- Go to "Image" > "Adjustments" > "Brightness/Contrast" to adjust the overall brightness of both the images.
- Use "Shadows/Highlights" to soften harsh shadows or brighten dark areas.
Alternatively, check out tutorials on “Dodging” and “Burning” for localized lightening and darkening.
3. Problem: Tricky Backgrounds
Complex backgrounds (trees, hair, etc.) are challenging to remove cleanly.
Solutions:
Precise Selection Tools: Experiment with Photoshop's Pen Tool for creating custom paths around the head. Plus, look up "Refine Edge" for fine-tuning selections, especially around hair.
You can also consider dedicated plugins specifically designed to remove backgrounds quickly. Plugins provide a good starting point for further refinement.
4. Problem: Skin Tone Mismatch
Even with similar lighting, skin tones may not be a perfect match between the head and body.
Solutions:
Use color adjustment tools:
- "Hue/Saturation" will shift overall color tones.
- "Color Balance" allows you to adjust the balance of individual colors.
- "Selective Color" lets you target specific color ranges (like skin).
Part 3: The Limitations of Photoshop for Head Swaps
While Photoshop is a powerful tool for image editing, head swaps highlights some of its limitations:
- Steep Learning Curve: Tools like the Lasso, Free Transform, Layer Masks, and color adjustments aren't always intuitive. You will need practice and familiarity with Photoshop’s interface to master them for a flawless head swap. Mastering them for a seamless head swap requires practice and familiarity with Photoshop's interface.
- Matching Skin Tones: Getting skin tones to blend perfectly demands artistic skill and technical know-how. While Photoshop's array of color tools are powerful, knowing which to use and how to fine-tune them for a specific image will only come with experience.
- Workflow Bottlenecks: The nature of head swaps — careful selection, layer management, and iterative blending—will slow down your workflow significantly. You will need familiarity with Photoshop tools to perform head swaps or other editing tasks efficiently.
Part 4: Easy Head Swaps with FaceHub
While Photoshop grants incredible precision for skilled editors, its complexity can make head swaps a time-consuming task for beginners. If you want a quick and fine head-swapping without a steep learning curve, FaceHub is a fantastic solution.
FaceHub: AI-Powered Face Swapping For Flawless Results
FaceHub revolutionizes head swaps with its advanced AI technology, which is trained extensively to handle all the complexities that make manual editing a nightmare.
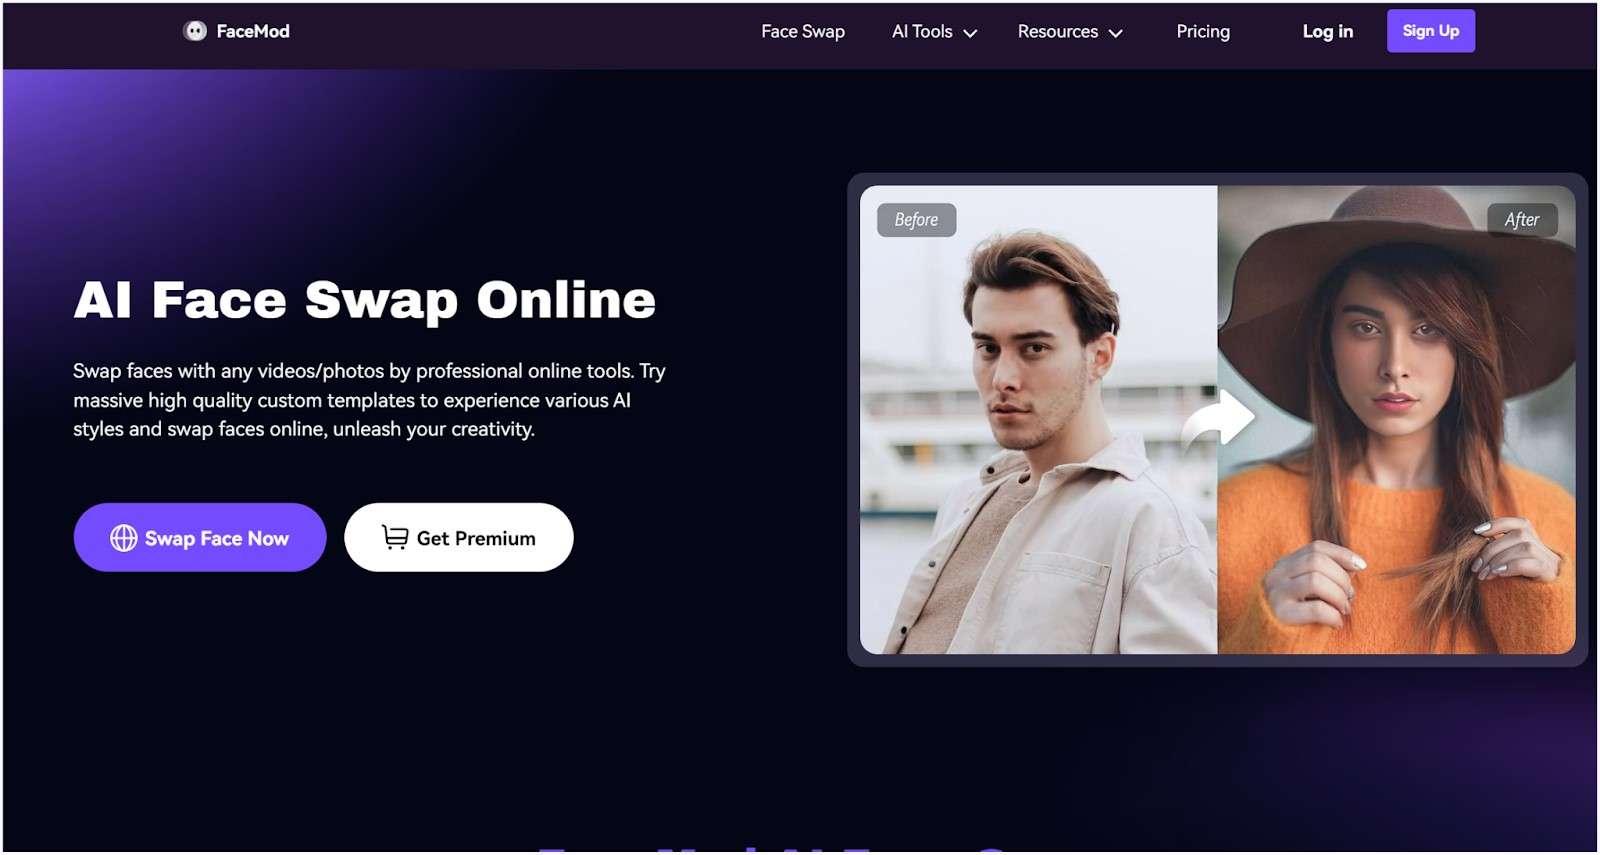
Unlike most engines, FaceHub’s AI isn’t just about putting your face onto another image. Its intelligence analyzes backgrounds, matches skin tones, corrects shadows, and blends the head seamlessly. This gives you a polished result that you’d expect an expert to perform in hours but in mere seconds. What’s impressive is FaceHub’s Face-Swapping feature is accessible to everyone. You can try it out with free credits and see the results yourself.
Key Features of FaceHub:
- Seamless Face Swapping: FaceHub's AI analyzes facial features, skin tones, and lighting for blends that look like they were meant to be.
- Unmatched Accuracy: Meticulously trained AI delivers precision face replacements for women and men, ensuring a realistic and polished result in all your edits.
- Easily turn yourself into a celebrity, create hilarious memes, and explore endless possibilities.
- Realistic face swaps even in videos! FaceHub’s AI is trained to handle lighting shifts, angle changes, and subtle facial movements.
- High-Quality Results: Crystal-clear, watermark-free images and videos perfect for sharing.
- Use your own photos/videos, or choose from a vast library of pre-made templates.
- FaceHub can handle up to 3 photos/videos head-swapping simultaneously.
How to Swap Faces with FaceHub
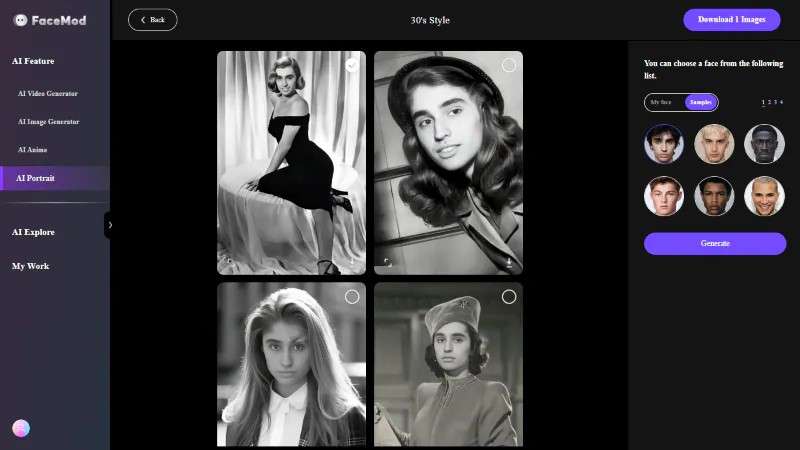
Step 1: Visit the FaceHub Website and Choose Your Media
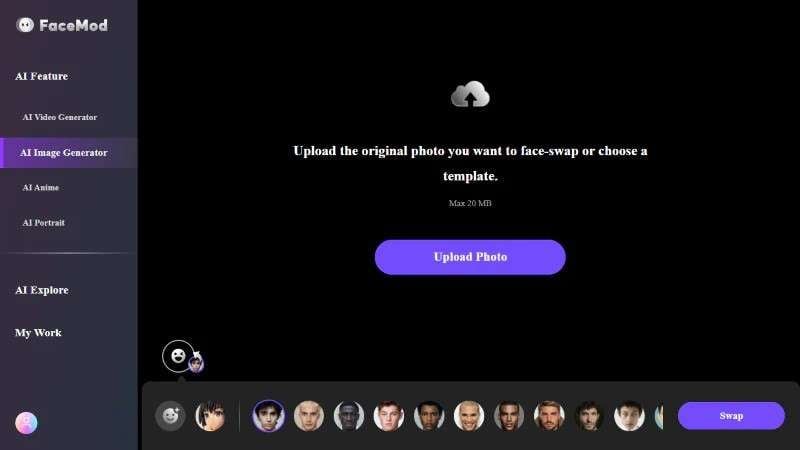
- Go to the official website in your web browser, and head to "AI image generator".
- Click the "Swap your own face" button.

Step 2: Log In and Let the AI Work Its Magic
- If you don't have one, create a free FaceHub account.
- Upload your own photo or video for a custom face swap. Or, select a template from FaceHub's library to use as the swap target.
- Once logged in, hit the "Swap" button. FaceHub's AI will automatically analyze and swap the faces with precision.
Step 3: Save and Share Your Creation
- Click the "Download Image" option from the upper-right corner to save the head swapped photo.
Comparison of FaceHub & Other Online AI Facesawap Tools
Let’s take a quick look at the comparison between FaceHub AI powered face swapping tools and other popular AI face swap tools like Deepswap and Reface.AI.
| FaceHub | Deepswap | reface.ai | |
| Customized upload face swap function | √ | √ | √ |
| Video Templates for Face Swapping | 1000+ | × | 100 + |
| Number of multi-face swaps | 6 | 5 | 4 |
| Format support |
Video: Max 500 MB, 5min Photo: Max 20 MB |
Video: Max 500 MB, 10min Photo: Max 10 MB GIF: Max 15 MB |
/ |
| AI Portrait | √ | × | √ |
| AI Anime Features & Themes | 47 | 1 | 64 |
| Subscription Plans |
Monthly: $9.99 Yearly: $39.99 |
First month $9.99, renewal $19.99 First year: $49.99, renewal $99.99 |
Basic $12.99, Premium $29.99 Basic $90.99, Premium $119.99 |
Conclusion
Whether you are aiming for hilarious social media posts, artistic photo edits, or just want to unleash your creativity, this guide includes the techniques that allow you to swap heads in Photoshop seamlessly.
Remember, when it comes to Photoshop, only practice and patience will make you perfect. The more you experiment with selectings, blending, color corrections, the more natural and convincing your head swap result will look.
However, if you do not have the patience and time to go through the steep learning curve of Photoshop, you can choose FaceHub and perform seamless head swapping in seconds.